Audio Noise Reduction

Audio Noise Reduction
Too much noise in your audio file? Here’s one cool solution!
Overview
Is there anything more frustrating than a noisy track? It’s pretty annoying and we’ve all been faced with this nuisance at some stage. What can we do to make sure this doesn’t happen to our audio files again? Read on.
I was recently mixing a track that for a fellow guitarist Mike and the quality of the audio capture left a lot to be desired (to be polite). Naturally Mike had tried using a noise gate, but gates do have limitations in some situations.

In this case there was plenty of low level background noise in the room. Mike was recording a solo acoustic guitar piece and the noise gate was far too aggressive. What happened was that the gate was cutting in and out regardless of the attack, release times and thresholds that were set. In other words when the guitar was playing the open gate was also allowing the background noise in. As soon as the instrument stopped playing the gate closed and along with it all sound, including the background hum but also the ambience of the room. This resulted in a very ‘choppy’ and unnatural sounding recording. The same thing often occurs when recording solo instruments with a gate, and also when recording any quiet section of music.
If you use this approach a noiseless recording may seem pretty far out of reach. The good news is that for users of software, such as Protools, Logic, Cubase and so on, there’s another option, and although not without limitations, far better results can be achieved.
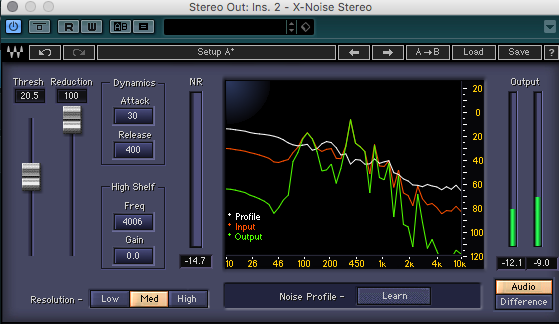
A noise gate may be well suited to shutting out sudden sounds below a particular threshold, but I would recommend checking out the noise removal plugin X-Noise by Waves Audio. This plug-in can significantly and impressively minimise low level continuous background noise. Used skilfully, your hiss and hum could soon become a thing of the past.
How to use X-Noise to great effect
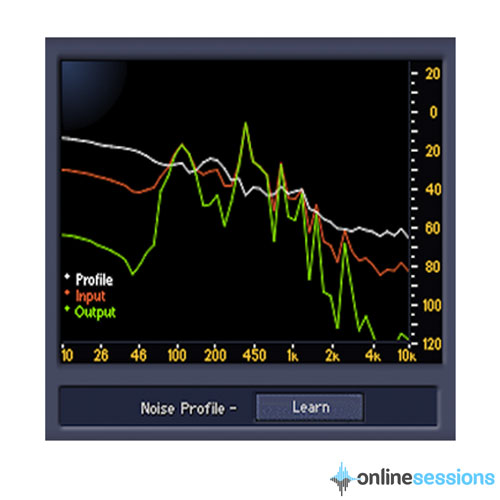
Although it is a really great plug-in, and one which I personally use all the time, there are a few tricks to getting it to work it’s magic. X-Noise requires a few moments of recorded ‘silence’ (ie where no instruments are playing but the background noise is being picked up) in the audio file you’re working with. You can usually find this at the beginning of the take or possibly at the end of the take. You may have to check other takes too, but be sure to find that ‘precious’ moment. To get started, loop the region of the audio file in which the instrument is not being played. Allow X-Noise to learn the noise profile by pressing learn. X-Noise will now cleverly be analysing the frequencies within the background noise without the instrument playing. Clicking Learn again will stop the learning process. A few moments of learning should suffice. You’ll see a mountainous white line representing the frequencies gathered. And now for the really cool bit. Click on the ‘difference’ button so that you can hear the noise that’s now being cancelled out. Raise both the threshold and noise reduction faders to maximum. Play the track through and slowly reduce the noise reduction threshold until you can no longer hear the instrument playing. You can now switch from the ‘difference’ to ‘audio’ playback setting. Listen again and gently adjust the noise reduction fader until you achieve the desired level of noise reduction without affecting the desired audio signal. 
Benefits of this method
Without going through the process above you’re likely to significantly affect the tone of the instrument you’re working with. By working backwards, from the maximum noise reduction possible in the ‘difference’ setting and then reducing the thresholds until you hear the instrument signal, you‘ll get a far more natural sounding track than attempting to reduce noise by directly listening to the track.
Limitations of X-Noise
Although you’ll be able to get some great results when you carefully use this method of recording, the tone of the track is still being affected to some degree. The reduced frequencies aren’t specific for the noise and they’re indiscriminate. It’s important to pay special attention to the high frequencies when removing hiss, as this will most certainly effect your top end and you don’t want your signal to sound dull.
Ultimately the best thing you can do is pay very careful attention to the recording process so you don’t end up having to find solutions to poor audio capture.
If you need more advice on your recording or require your files cleaned up by one of our professionals, get in touch and we’ll be happy to help.
Written by mb@onlinesessions.com
Tags: audio noise reduction, noise reduction, waves, x-noise


Thats’s really helpful